Switching over to metal for the desk legs.

Most of the woodworking is complete.  The weather needs to cooperate a little more before I do the staining and final assembly.  This means the legs can be fabricated.  Since they are metal, weather is not as much of a factor.  1”x3” rectangular tubing will be the main structure of desk.  After cutting and welding, there should be plenty of strength to hold up the heavy desk.

SketchUp is showing it’s power again.  Rather than just guess and fabricate on the fly, a drawing was made to simulate the leg structure.  Adding dimensions told me what lengths will be needed.  A plugin to SketchUp gave me a cut list.  The cuts didn’t take long, and then the angles will be soon following.
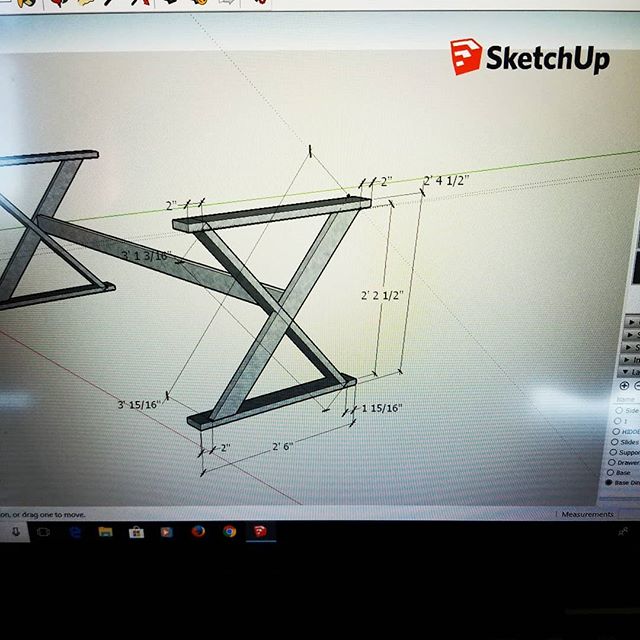
Switching over to metal for the desk legs. ..#sketchup #diy #doityourself #maker #makersgonnamake #handyman #welding #tig #gtaw #tigwelding
from Instagram

Arm day. #sanding

Sanding is not a glamorous part of any project.  No matter how much we try to avoid it, sanding makes a huge difference in the final look of the finish.  This desk will be finished with Rubio.  Thankfully Rubio only needs to be sanded to 120 grit which isn’t very fine.  Advanced planning and tight fit up between pieces mean there isn’t much sanding to do.  My failure was not cleaning the glue sqeeze out approprately.  I used a blue show towel, either dry or wet.  That makes the mess worse.  This means I sand.  A trick I learned recently (too late for this project) is to let the glue dry for about 15 minutes and then run a chisel under the glue.  It will peel the glue right off.  Next time. 

Arm day.  #sanding
from Instagram