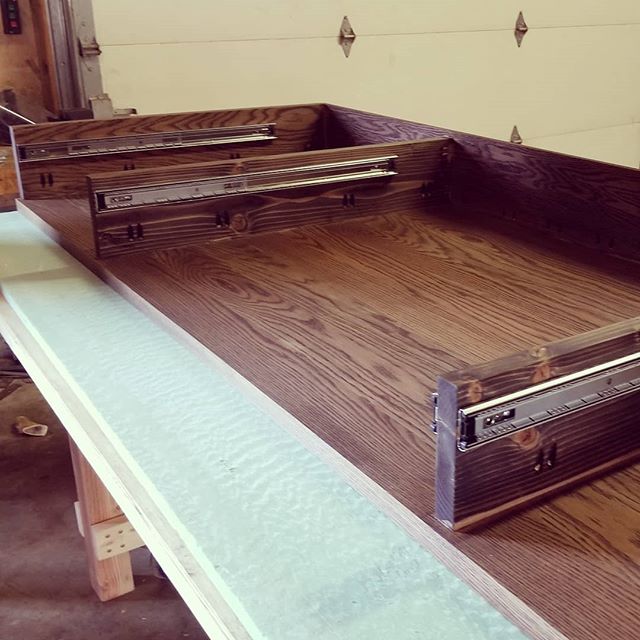
Drawer slides have two main components. They separate for installation and then joined when complete. The main part of the drawer slide is installed in the desk. A small piece is installed on the drawer. The process takes a bit of time. With the drawer slide extended, the drawer is placed in the desk with most of the drawer still out, and only the back side of the drawer in place. A couple wedges are used to center the drawer, and the back of the slide is screwed to the drawer. The drawer is moved almost all the way in with only enough sticking out to reach the screw hole on the drawer slide. Wedges are used again to keep the front of the drawer centered in place. The back of the drawer is held by the screwed installed before. Once, set in place, the front two screws are installed. At that point the drawer should roll freely on the slide. The last part is to install a few screws in the center, and then adjust the depth of the slide.
Desk bottom installed
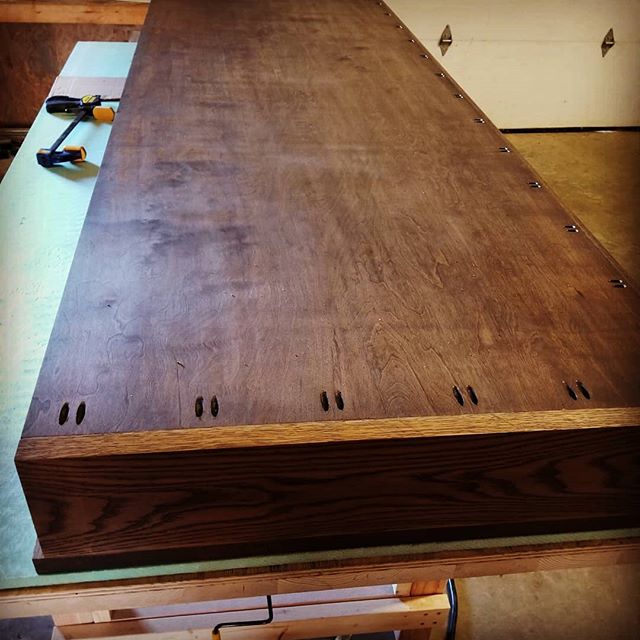
The bottom is a piece of 3/4” birch plywood that is also finished with Rubio. Plywood was selected as a result of it being hidden under the desk. People really won’t see it unless they are under the desk. The finish looks good. Probably the most obvious thing are the pocket holes. A large number of pocket holes were used to ensure there is enough strength. Pocket holes are not known for their strength, so using a lot of them will only help. Glues was not used in fear of needing to disassemble in the future.
Installing drawer slides
The installation of the slides wasn’t too bad. A jig was made out of a 2×8 ripped to 3 3/4 to set the slides on for marking where the pilot holes go. The jig was against the supports and the slides rested on the jig so the holes could be marked. This made sure all the slides were installed evenly. It took a little time. The overall difficulty was low after the process was planned.


