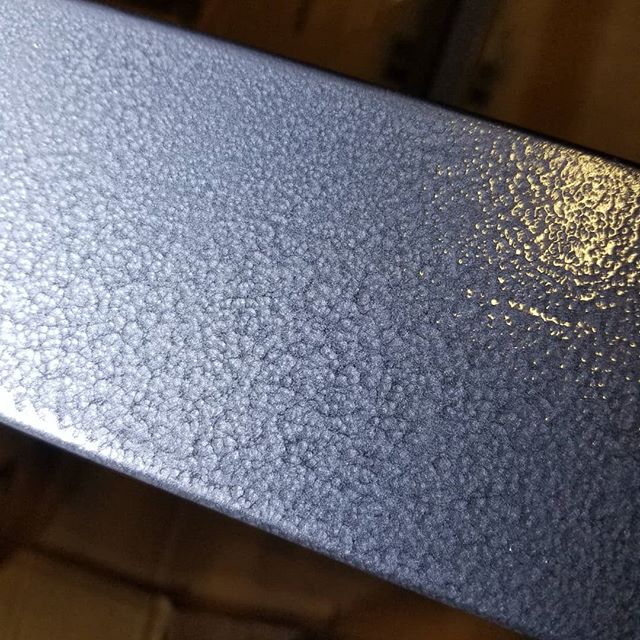
Hammered Metal from Rust-Oleum. It takes a little trial and error. Thick coats make the texture. It has been tricky to get good. The first couple coats I sprayed the same way I have sprayed paint for years. This is different. I learned there are a couple tricks. The first is to position the piece so the surface is flat. That may mean that only small sections will be painted at a time. The second trick is to paint it thick. If the surface is flat, there should be minimal paint running. A few seconds after the paint is applied, it almost looks like there is bubbling. I’m not sure if t is a chemical reaction, or physical reaction. The effect is paint that looks like it has been ‘hammered’. The texture hides many of the defects on the metal that were left behind. It also gives the metal an industrial look. This is a paint that will find a permanent place in my shop.
Tabbin
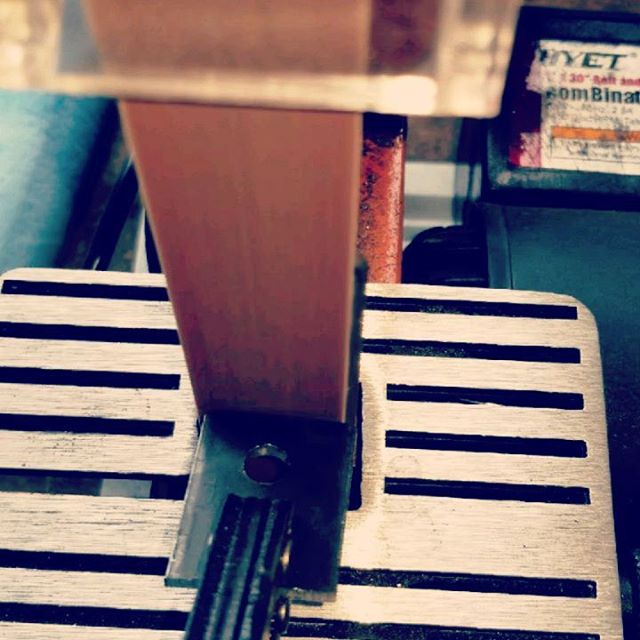
To attach the wood top to the metal base, little tabs were cut, drilled, sanded, and welded to the base. When the top it put on, bolts will hold it down. In the wood, holes were bored and inserts were screwed into the bottom of the wood. The inserts have machined threads for the bolts. Sanding small pieces of metal can be tricky. A pair of locking pliers keep fingers safe and can handle the heat. A little belt sander works well to de-burr, and smooth the little pieces. It was amazing how much metal came off the piece from sandpaper.
After not touching the desk project for a while
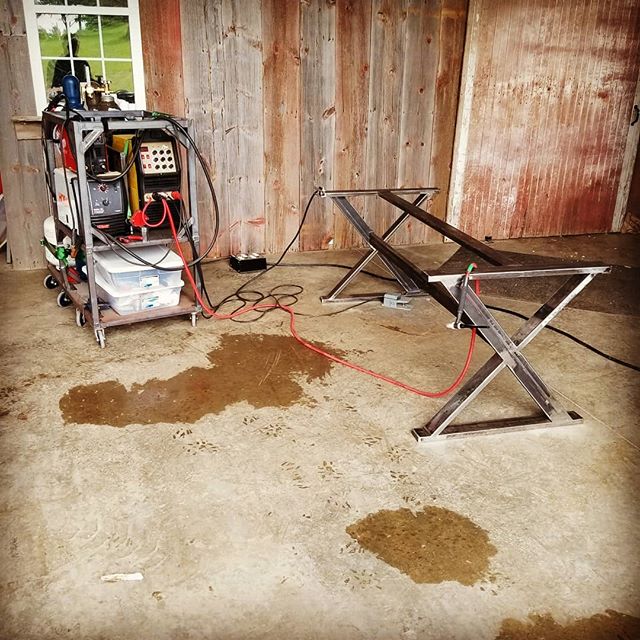
I was able to spend a few hours flap disking and more assembly. Welding around water isn’t usually a good idea. Whenever it rains, a little water gets under the big door. There is a deal, but it needs replaced. Add that to the list. Soon the welding will be done and paint will be applied.


