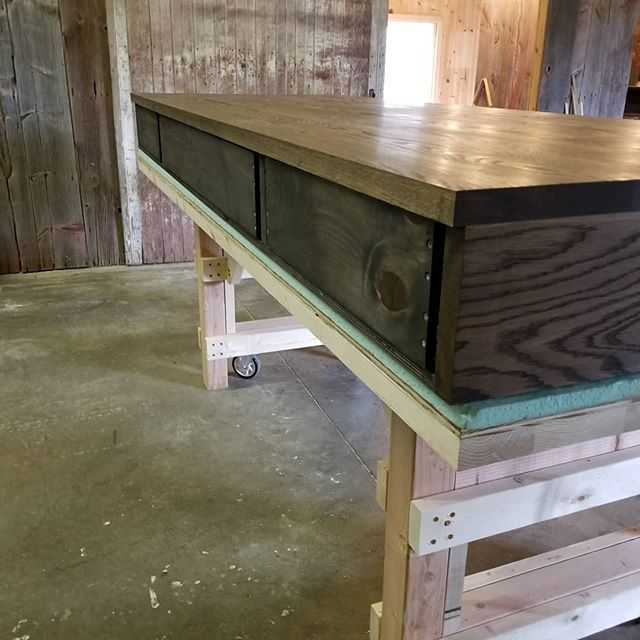
These drawer fronts were challenging. As a result of needing to make them thinner to make up for a design flaw of the drawers. The screw that were put in the fronts don’t have much to bite into. Thankfully the none of the pilot holes accidently went through the fronts. A bit of glue was put in each pilot hole and then the screw. Hopefully it holds. If not, the whole front may be attached with a bunch of glue rather than screws.
Fixing walls
Finally, the watermelon paint scheme is going. The patching is complete, and the painting will commence. After taking off the smoke detector, and removing parts of the ceiling fan, the cut-in for the ceiling paint will be first.
Drawers are installed.
Drawer slides have two main components. They separate for installation and then joined when complete. The main part of the drawer slide is installed in the desk. A small piece is installed on the drawer. The process takes a bit of time. With the drawer slide extended, the drawer is placed in the desk with most of the drawer still out, and only the back side of the drawer in place. A couple wedges are used to center the drawer, and the back of the slide is screwed to the drawer. The drawer is moved almost all the way in with only enough sticking out to reach the screw hole on the drawer slide. Wedges are used again to keep the front of the drawer centered in place. The back of the drawer is held by the screwed installed before. Once, set in place, the front two screws are installed. At that point the drawer should roll freely on the slide. The last part is to install a few screws in the center, and then adjust the depth of the slide.


